Most compaction failures are decided before the roller ever arrives. A subgrade that was never scarified, was rolled too wet or too dry, or was built in one thick layer instead of thin lifts will never reach its specified density — no matter how many passes the roller makes. Subgrade preparation is the work that makes compaction possible: loosening, moisture-conditioning, and re-compacting the top of the formation so that field density tests pass the first time.
This guide covers the complete preparation procedure — clearing, scarifying, moisture control, layer-wise compaction, proof rolling and acceptance testing — with the equipment to use for each soil type and the field checks that decide whether the subgrade is ready for the next layer.
What “Prepared Subgrade” Actually Means
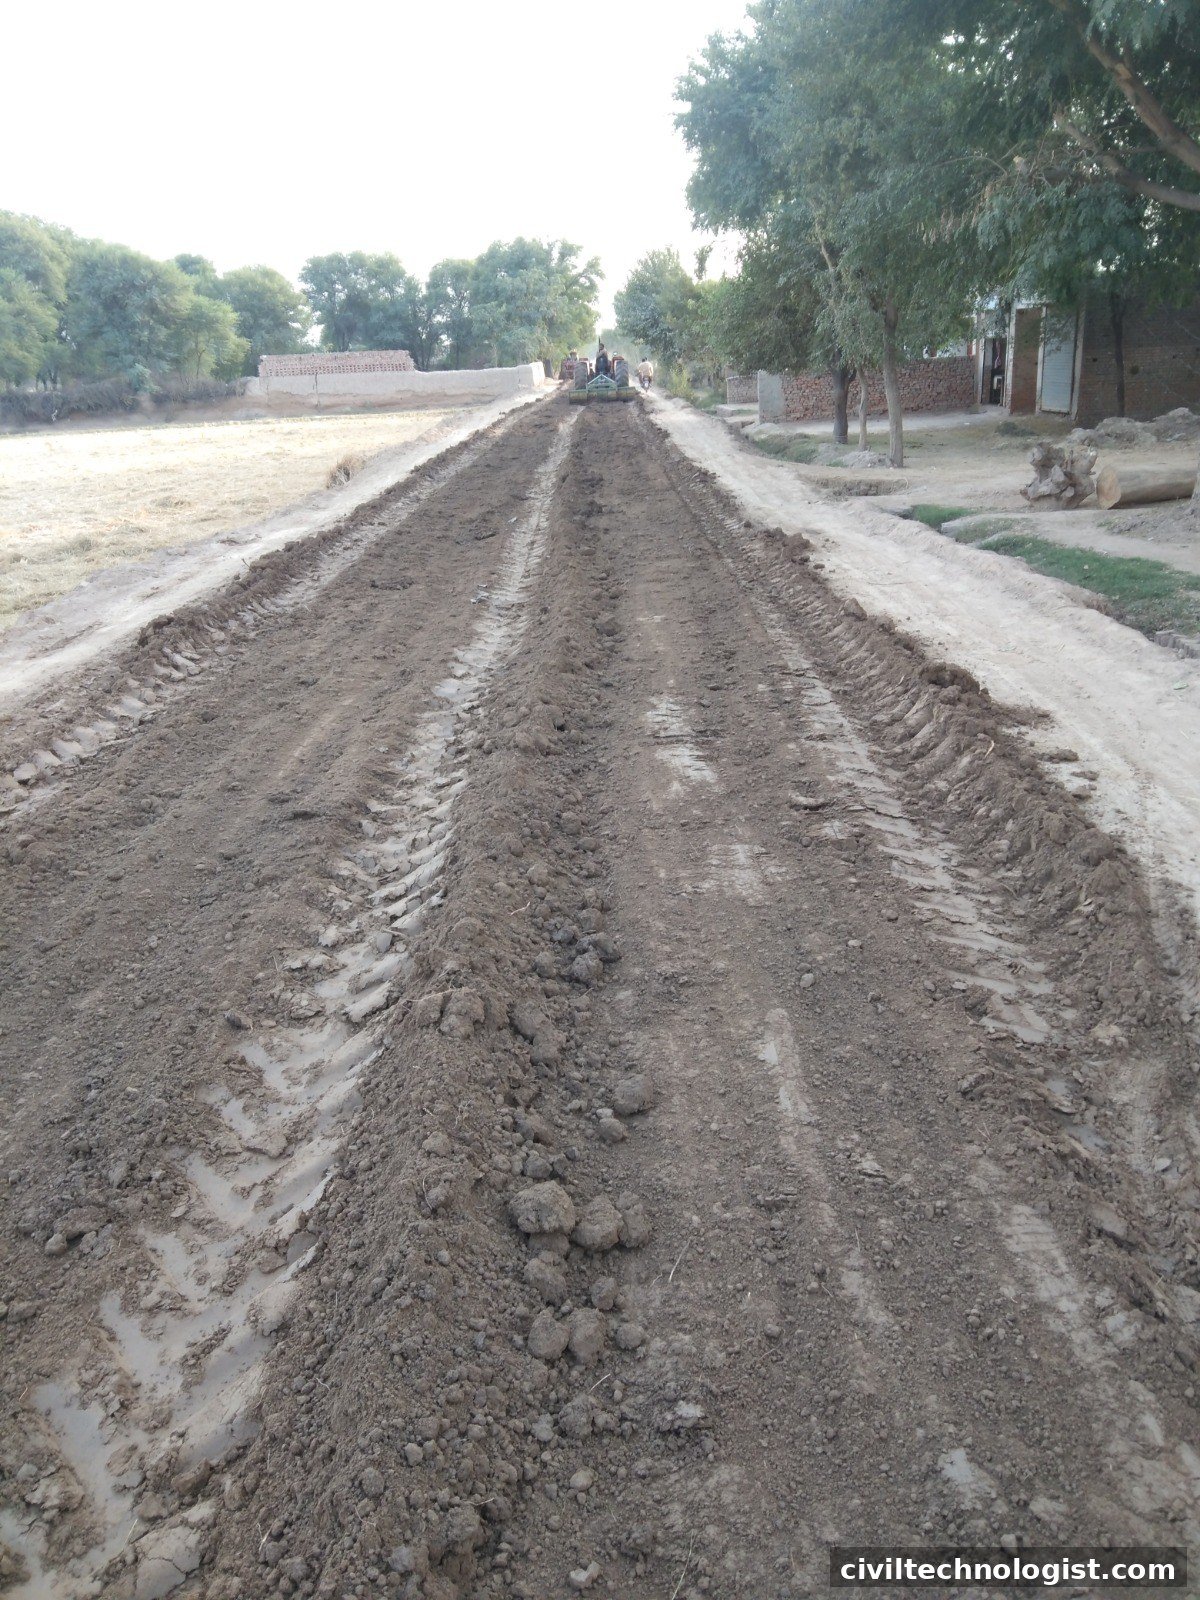
A subgrade is accepted as prepared when it meets four conditions at the same time:
- Density: field dry density reaches the specified percentage of the laboratory maximum dry density (MDD) — typically 95–98% depending on the layer and the specification.
- Moisture: water content is close to the optimum moisture content (OMC), usually within ±2% — the moisture at which the soil compacts to its maximum density.
- Uniformity: no soft spots, no loose pockets, no hard lumps; the whole area behaves as one layer.
- Geometry: the surface is trimmed true to line, level and camber (crossfall), so water drains off instead of ponding.
Miss any one of these and the pavement above starts life on a weak foundation. The density and moisture targets both come from the laboratory Proctor compaction test (MDD and OMC) — preparation is simply the site work of reproducing those lab conditions in the ground.
Step-by-Step Procedure
Step 1 — Clear, grub and strip
Remove all vegetation, roots, topsoil and any unsuitable material (organic soil, rubbish, soft clay pockets) from the formation area. Topsoil is never compacted into a subgrade — it compresses later and the pavement settles. Excavate soft spots and replace them with suitable material before proceeding.
Step 2 — Scarify and pulverize
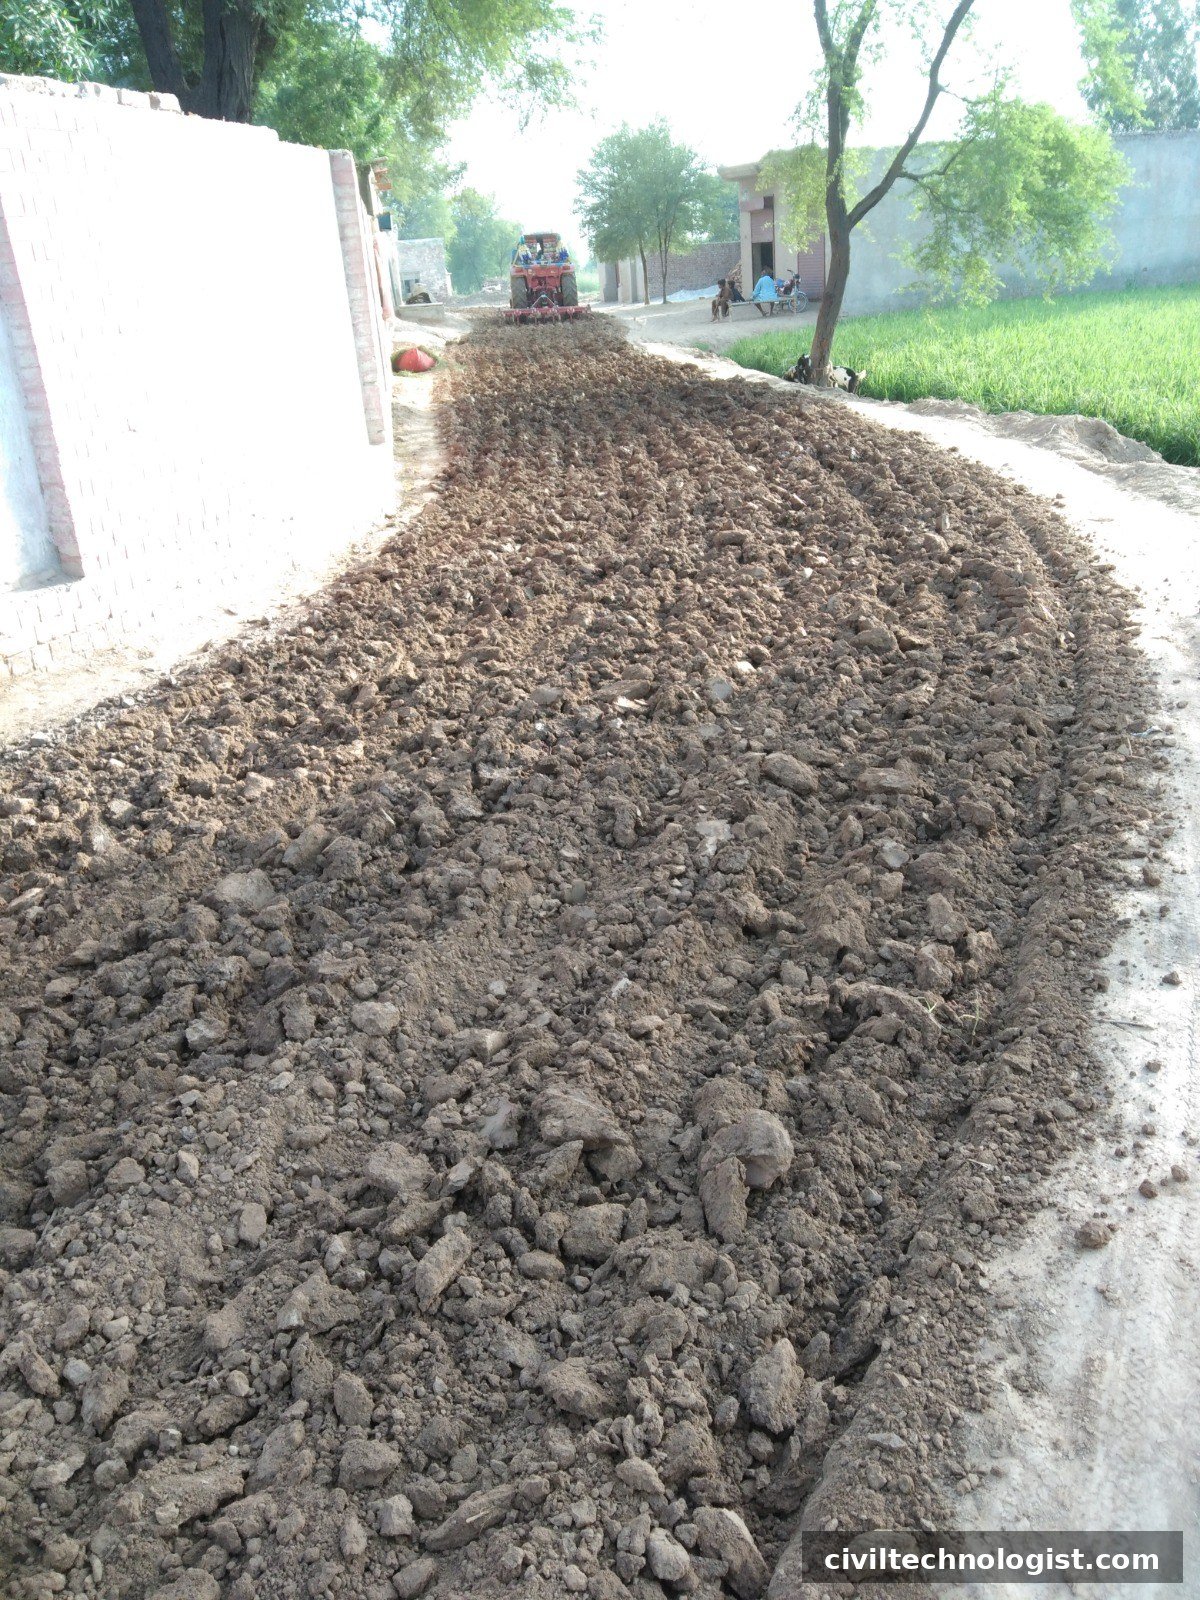
Rip or scarify the top 150–300 mm of the formation so the compacted crust is fully broken up. A roller running over an unscarified surface only densifies the top few centimetres while the soil below stays loose — the classic cause of a density test that passes at the surface and fails at depth. Break down all hard clods; on cohesive soils a tractor-drawn rotavator or disc harrow does this quickly and uniformly.
Step 3 — Condition the moisture (the step that decides everything)
Here is the detail most site teams miss: compaction does not come from the roller alone — it comes from water. Soil particles need a thin film of water around them to slide past each other into a dense, tightly-packed mass. Without the right water percentage, the heaviest roller in the world cannot force dry grains together; with too much water, the water itself takes up space that soil particles should occupy, and the roller just pushes mud around.
Every soil has one specific water percentage — the optimum moisture content (OMC) — at which it reaches its maximum dry density (MDD) for a given compactive effort. Both numbers come from the laboratory Proctor compaction test, and the familiar bell-shaped Proctor curve shows exactly what happens on either side of optimum:
- Well below OMC (too dry): there is not enough water to lubricate the particles. Friction locks the grains in a loose arrangement, air voids stay trapped, and dry density stays low no matter how many roller passes you make. Rolling dry soil is just burning diesel.
- At OMC (±2%): each particle carries the ideal water film — particles slide into their densest packing, air is expelled, and the roller achieves maximum dry density with normal effort. This is the target window: bring the soil to OMC, usually within ±2%, before rolling.
- Above OMC (too wet): water starts occupying the voids instead of air. Since water cannot be compressed, the roller cannot squeeze the particles any closer — the layer pumps, ruts and shoves under the drum, and any density reading you take is meaningless. Wet-worked cohesive soil also loses the structure you are trying to build.
How to correct moisture on site:
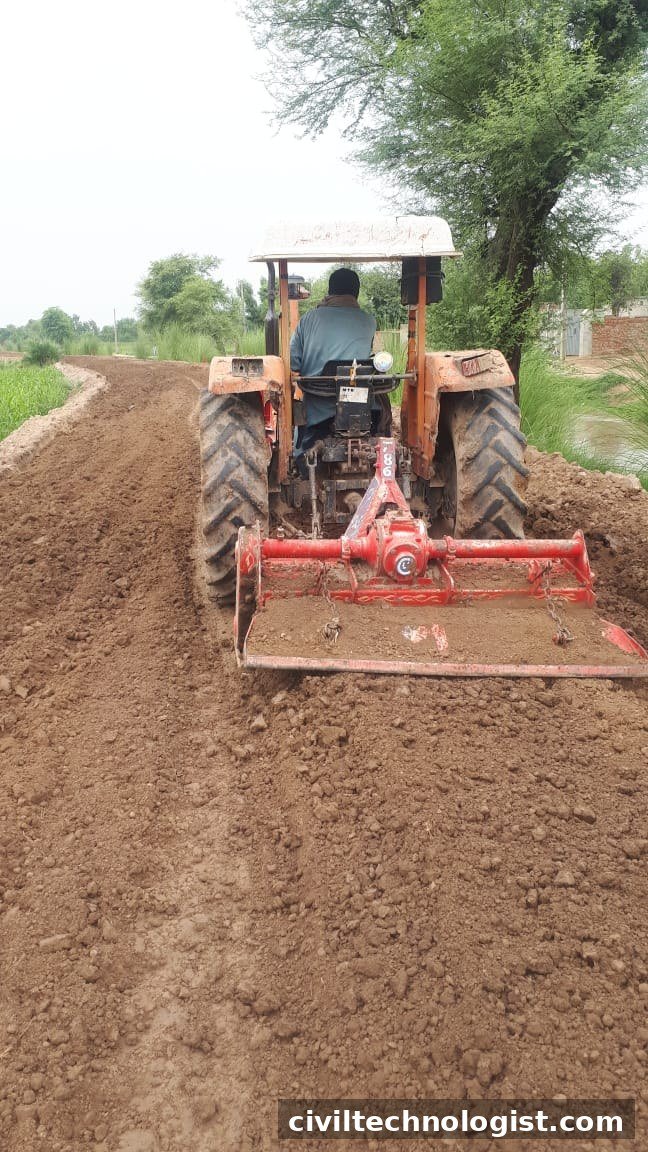
- Too dry → add water: sprinkle water in light, even passes with a water bowser — never dump it in one spot — and mix it thoroughly into the full depth of the loosened layer with a rotavator or disc harrow. Water sprayed only on top never reaches the bottom of the lift. Mix, then check again.
- Too wet → dry it back: open the soil up by repeated scarifying or rotavating and let sun and air do the work. On large areas this takes hours, so check moisture through the day — a layer that was too wet at 9 am can be at OMC by noon in hot weather.
Quick field check — the hand ball test: squeeze a handful of the conditioned soil. At roughly OMC it forms a firm ball that holds together when tossed lightly, without oozing water or crumbling apart. If it crumbles — too dry. If water squeezes out or it feels sticky and soft — too wet. This never replaces a proper test, but it tells the roller driver whether to start or wait.
Confirm with a real test: check moisture with a speedy moisture tester on site before rolling begins — waiting for oven-dry lab results costs a working day, and moisture changes by the hour in hot weather. No layer gets rolled until its moisture is verified inside the OMC ±2% window.
Step 4 — Compact in thin layers
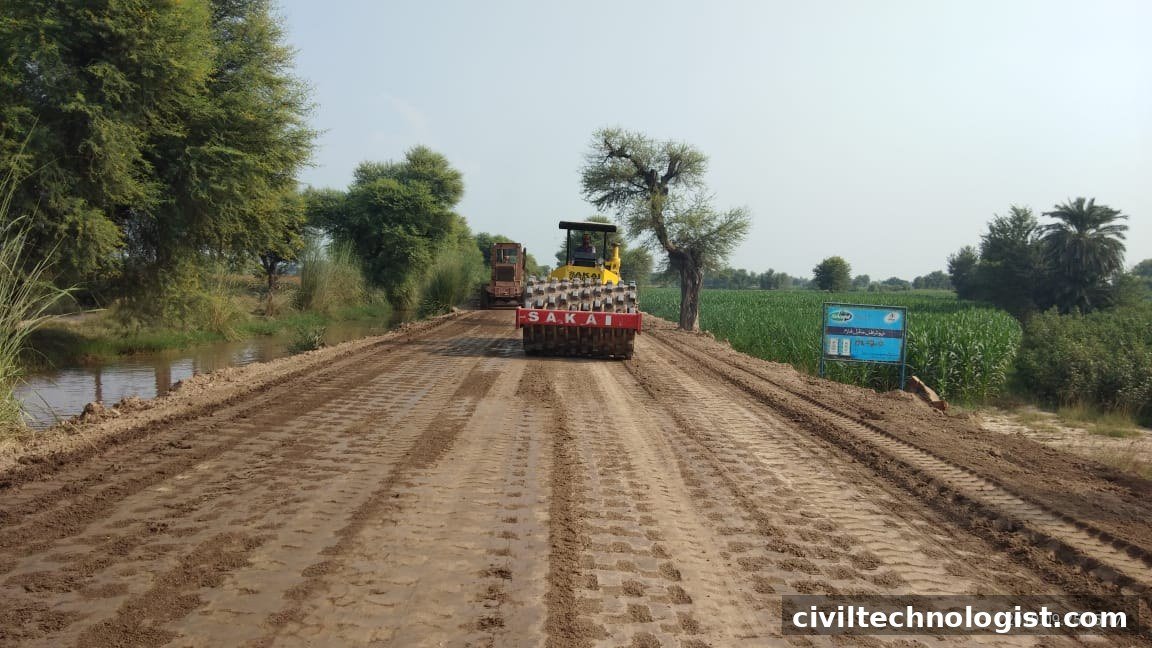
Compact the conditioned soil in thin loose layers of about 150–200 mm, never in one deep fill. Each layer gets enough roller passes to reach the specified density before the next is placed — scarify the top of the previous layer lightly so the lifts bond instead of sliding on a smooth interface. Overlap each roller pass by about one-third of the drum width and keep a steady, slow speed; racing the roller is the most common way to waste diesel without gaining density.
Step 5 — Trim to grade and camber
After final compaction, trim the surface true to the design level and crossfall with a grader or by hand trimming. The subgrade must shed water — even a perfectly compacted subgrade that ponds water will soften from the top down in the first rains.
Step 6 — Proof roll
Run a loaded roller or truck slowly over the finished subgrade and watch for deflection, pumping or rutting. Proof rolling finds the soft spots that spot density tests can miss — any area that pumps is excavated, dried or replaced, and re-compacted. Only a subgrade that proof-rolls clean goes forward to density testing.
Step 7 — Test and accept
Take field density tests at the frequency the specification demands (e.g. one test per defined area of finished subgrade). The sand cone (sand replacement) method suits most subgrade soils; the core cutter method suits fine-grained cohesive subgrades. Percentage compaction is calculated the same way every time:
% compaction = (field dry density ÷ laboratory MDD) × 100
Record every test on a proper field density test report format. A failed area is re-worked and retested — never averaged away or covered by the next layer.
Choosing the Right Compaction Equipment
Wrong equipment is a frequent reason subgrades never reach density. Match the machine to the soil:
| Soil type | Best equipment | Why |
|---|---|---|
| Cohesive (clay, silty clay) | Sheepsfoot / padfoot roller | Kneading action works the soil from the bottom of the lift upward; feet walking out of the layer is the visual sign of full compaction |
| Granular (sand, gravel, crushed stone) | Smooth-drum vibratory roller | Vibration rearranges particles into dense packing; static weight alone is slow on granular material |
| Mixed soils | Pneumatic-tired roller | Kneading plus uniform pressure suits variable material |
| Confined areas, edges, trenches | Plate compactor / rammer | Large rollers cannot reach edges, around structures or in narrow trenches |
Edges and Confined Areas
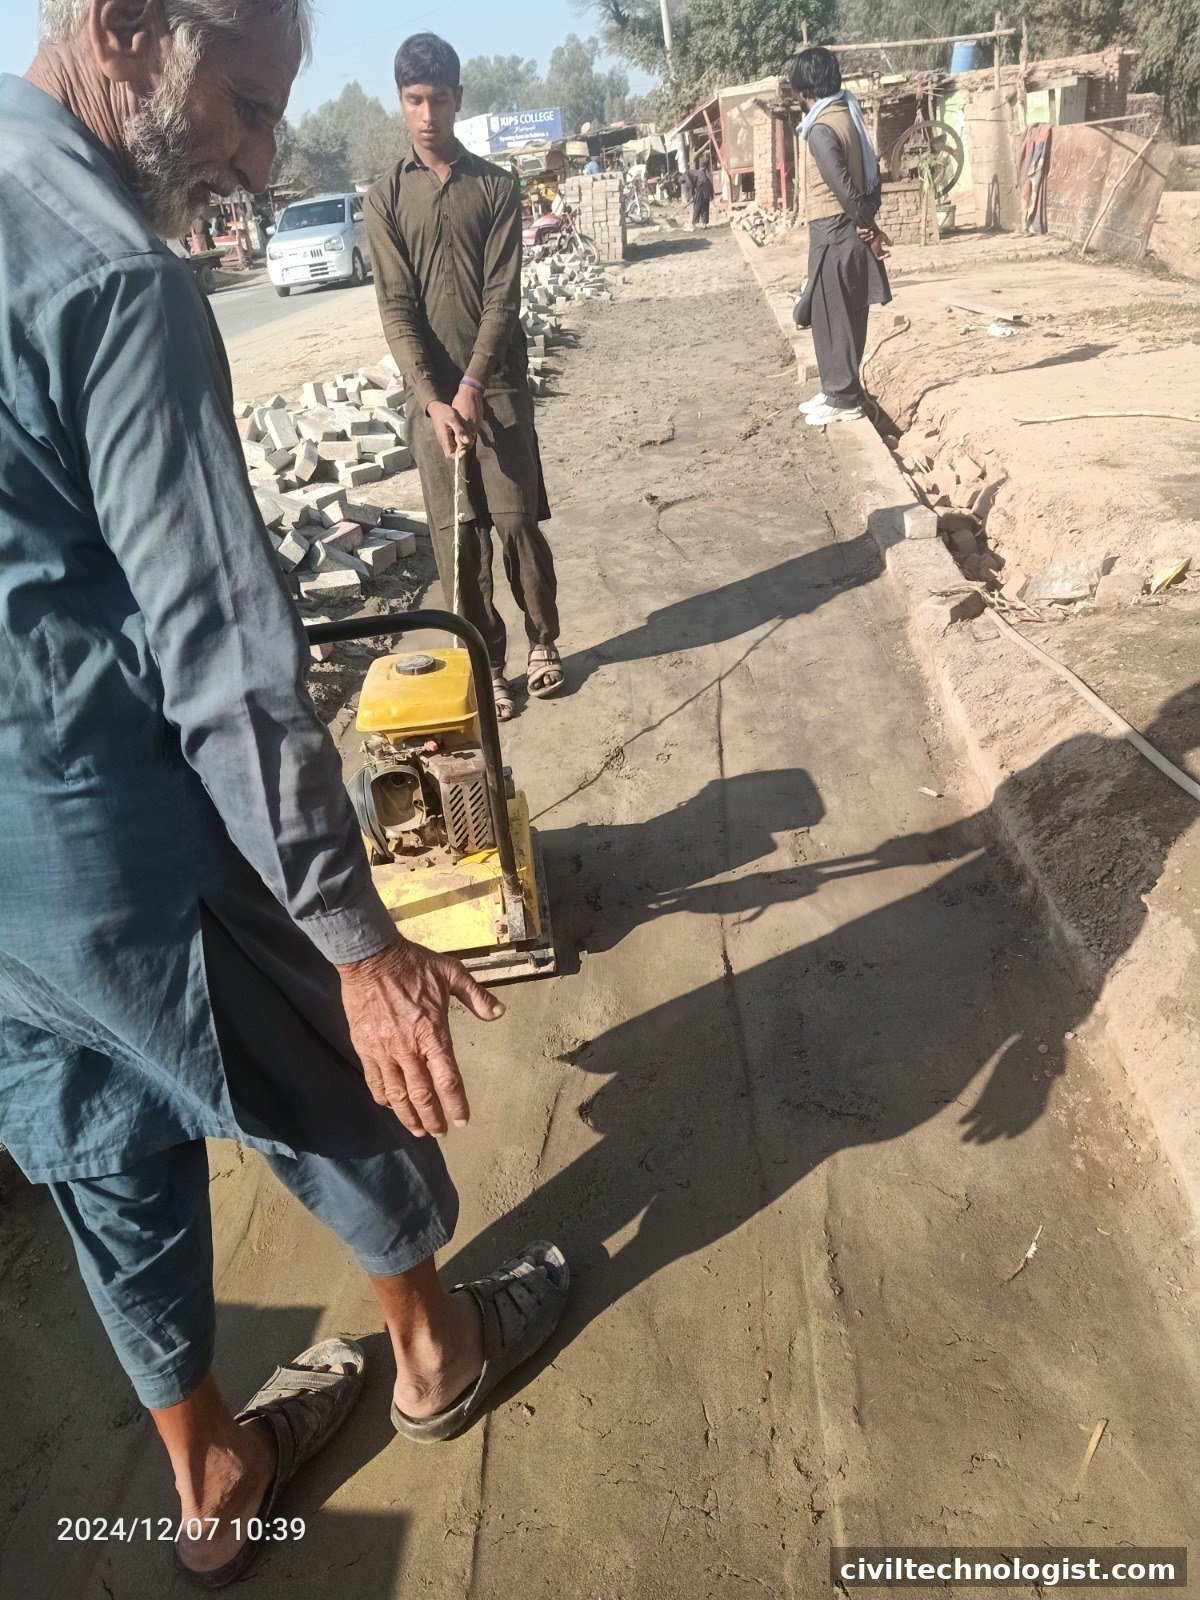
The middle of the formation always compacts first — the edges, joints and areas around manholes, culverts and structures are where density tests fail. Work these zones with a plate compactor or rammer in thin lifts, and take at least some density tests at the edges rather than only in the easy middle. A subgrade is only as good as its weakest strip.
Common Failures on Site
- Rolling without scarifying — a hard crust over loose soil; surface tests pass, depth tests fail.
- One thick layer instead of thin lifts — the bottom of a 400 mm layer never sees compactive effort.
- Compaction at the wrong moisture — too dry gives low density; too wet gives pumping and false readings. Both waste the roller’s work.
- Racing the roller — high speed with few passes; density needs slow, overlapping passes.
- Smooth lift interfaces — placing a new lift on a glassy-smooth previous surface creates a sliding plane; scarify lightly between lifts.
- Covering failed areas — spreading the next layer over a failed test hides the problem until the pavement settles.
- No camber — a flat, perfectly dense subgrade that ponds water softens from the top down.
Acceptance Criteria (Typical)
| Item | Usual requirement |
|---|---|
| Embankment body (below subgrade) | ≥ 95% of MDD |
| Subgrade (top ~300 mm) | ≥ 95–98% of MDD (follow the project specification) |
| Moisture at compaction | OMC ±2% (typical) |
| Layer thickness (loose) | 150–200 mm per lift |
| Surface tolerance | True to grade and camber; no ponding |
These are typical values — the contract specification governs. Strength of the finished subgrade is separately checked with the California Bearing Ratio (CBR) test where the design requires it.
Applicable Standards
- IS 2720 (Part 7) — Determination of water content–dry density relation using light compaction (standard Proctor); Part 8 — heavy compaction (modified Proctor).
- ASTM D698 / D1557 — Laboratory compaction characteristics using standard / modified effort (USA).
- AASHTO T 99 / T 180 — Moisture–density relations of soils (USA, widely referenced in Pakistan’s highway practice).
- IS 2720 (Part 28) — Determination of dry density in-place by the sand replacement method; Part 29 — by the core-cutter method.
- ASTM D1556 / D2937 — In-place density by the sand-cone / drive-cylinder methods.
Frequently Asked Questions
Why scarify before compacting?
Because a roller cannot densify soil it cannot reach. Scarifying breaks the hard crust and lets compactive effort — and moisture — reach the full depth of the layer being compacted.
What happens if the subgrade is compacted too wet?
The soil pumps and ruts under the roller, density readings become unreliable, and the layer stays weak. Aerate and dry it back toward OMC before rolling.
How thick should each compacted layer be?
About 150–200 mm loose thickness per lift. Thicker lifts leave the bottom uncompacted.
How is subgrade compaction verified?
By field density tests (sand cone, core cutter or nuclear gauge) expressed as percentage of the laboratory MDD, plus proof rolling to catch soft spots. See the base course construction guide for what gets built on top of an accepted subgrade.
Can compaction continue in the rain?
No — stop work. Rain drives the moisture far above OMC, and rolling wet soil destroys the structure you just built. Cover the finished formation and resume after it dries back.
Final Thoughts
Subgrade preparation is unglamorous work — ripping, watering, rolling, testing — but it is where compaction is truly achieved. Get the moisture right, work in thin lifts with the right roller, proof-roll honestly, and the density tests take care of themselves. Skip the preparation, and no amount of rolling will save the test results.
Written by Mohsin Raza Adil — BSc Civil Engineering Technologist (NTC-registered), Pakistan.