Road marking — called lining on site — is the paint (or plastic) on the pavement that tells drivers where their lane is, where to stop, and where pedestrians cross. It is the cheapest safety device on the road: a few millimetres of material that works day and night, in rain and headlight glare, guiding every vehicle that passes.
This guide covers the types of road markings, the colours and what they mean, the materials used (from ordinary road paint to thermoplastic), how markings are applied with machines, and the site practices that decide whether the lines last two years or two months.
Why Road Marking Matters
Markings do three jobs at once:
- Regulation — centre lines, lane lines, and stop lines tell drivers what is legally required (stay in lane, stop here, give way).
- Guidance — edge lines and arrows guide drivers along the correct path, especially at night and on curves where the road edge is hard to see.
- Warning — zig-zag lines, hazard markings, and rumble-adjacent treatments alert drivers before junctions, crossings, and danger points.
Practical note: Markings are most valuable exactly when visibility is worst — at night, in rain, and in dust. That is why retroreflectivity (glass beads embedded in the marking that bounce headlight beams back to the driver) matters more than the paint colour itself.
Types of Road Markings (Lining)
1. Longitudinal markings (along the road)
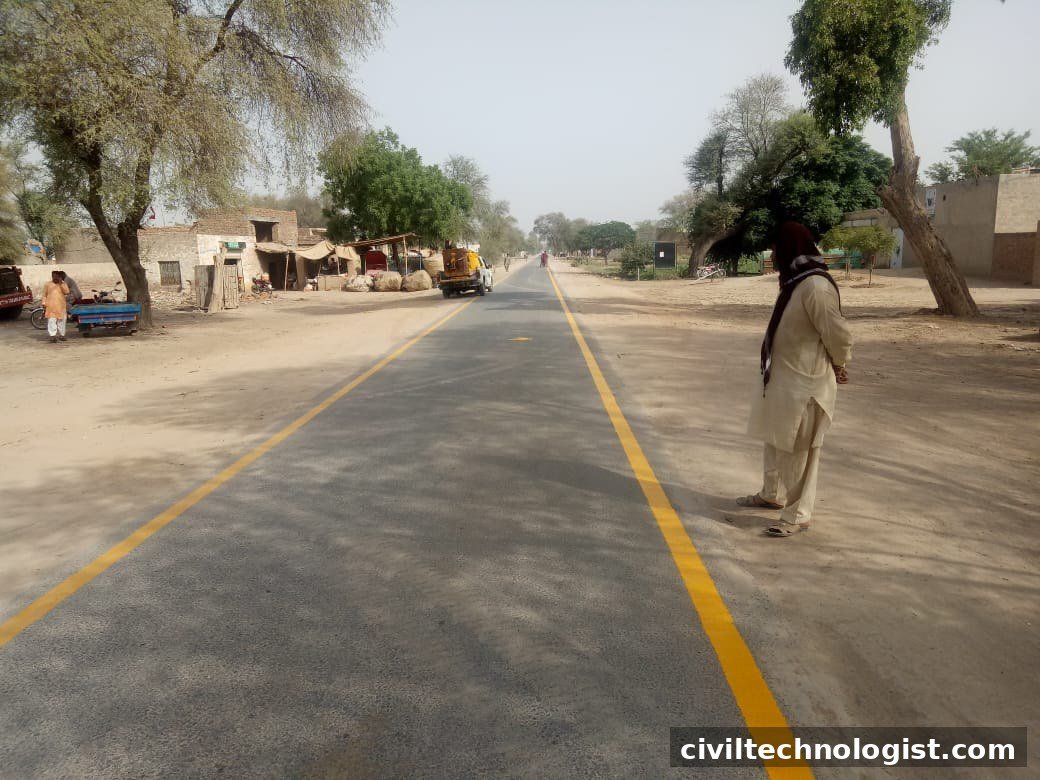
- Centre line — separates opposing traffic. Usually a broken (dashed) white or yellow line on two-lane roads; a double solid line where overtaking is prohibited.
- Lane lines — divide lanes of traffic moving in the same direction. Broken white lines are standard; solid white where lane-changing is discouraged.
- Edge lines — solid lines marking the edge of the carriageway (the usable pavement). They keep drivers from drifting onto the shoulder, and they are the single most effective marking on rural roads at night.
- No-overtaking / barrier lines — double solid lines (often yellow) on curves, bridges, and near junctions where overtaking would be dangerous.
2. Transverse markings (across the road)
- Stop lines — solid white transverse line where vehicles must stop at signals and junctions.
- Give-way lines — broken transverse lines (often with an inverted triangle symbol) at minor-road junctions.
- Zebra crossings — broad white stripes across the carriageway marking pedestrian crossings.
- Directional arrows and word markings — arrows, “STOP”, “SLOW”, and lane-destination legends painted on the lanes.
- Box junction / cross-hatch markings — criss-cross yellow lines at congested junctions that must be kept clear.
Colours and What They Mean
| Colour | General meaning | Typical use |
|---|---|---|
| White | Lane discipline, regulation | Lane lines, edge lines, stop lines, zebra crossings, arrows |
| Yellow | Caution / separation of opposing traffic | Centre lines, no-overtaking lines, box junctions (practice varies by country) |
Colour conventions vary by country — always follow the national standard or the project specification. In Pakistan, NHA practice follows the international pattern: white for lane and edge lines, yellow for centre-line separation on many highways.
Marking Materials Compared
| Material | Thickness | Typical life | Best for |
|---|---|---|---|
| Traffic paint (water- or solvent-based) | ~0.3–0.6 mm | 6–12 months | Low-traffic roads, temporary markings, tight budgets |
| Thermoplastic | 2–4 mm | 2–4 years | Highways, urban arterials — the standard for permanent markings |
| Cold plastic / two-component | ~1–3 mm | 2–3 years | High-wear spots: zebra crossings, stop lines, symbols |
| Preformed tape | ~1–2 mm | 2+ years | Temporary diversions, overlays, quick application without heating |
Thermoplastic is the workhorse of permanent road marking: a powder of resin, pigment, filler, and glass beads, heated to around 180–200°C and extruded or sprayed onto the pavement, where it hardens in minutes. Glass beads are dropped onto (and mixed into) the molten material so the finished line reflects headlights back at drivers.
How Markings Are Applied on Site
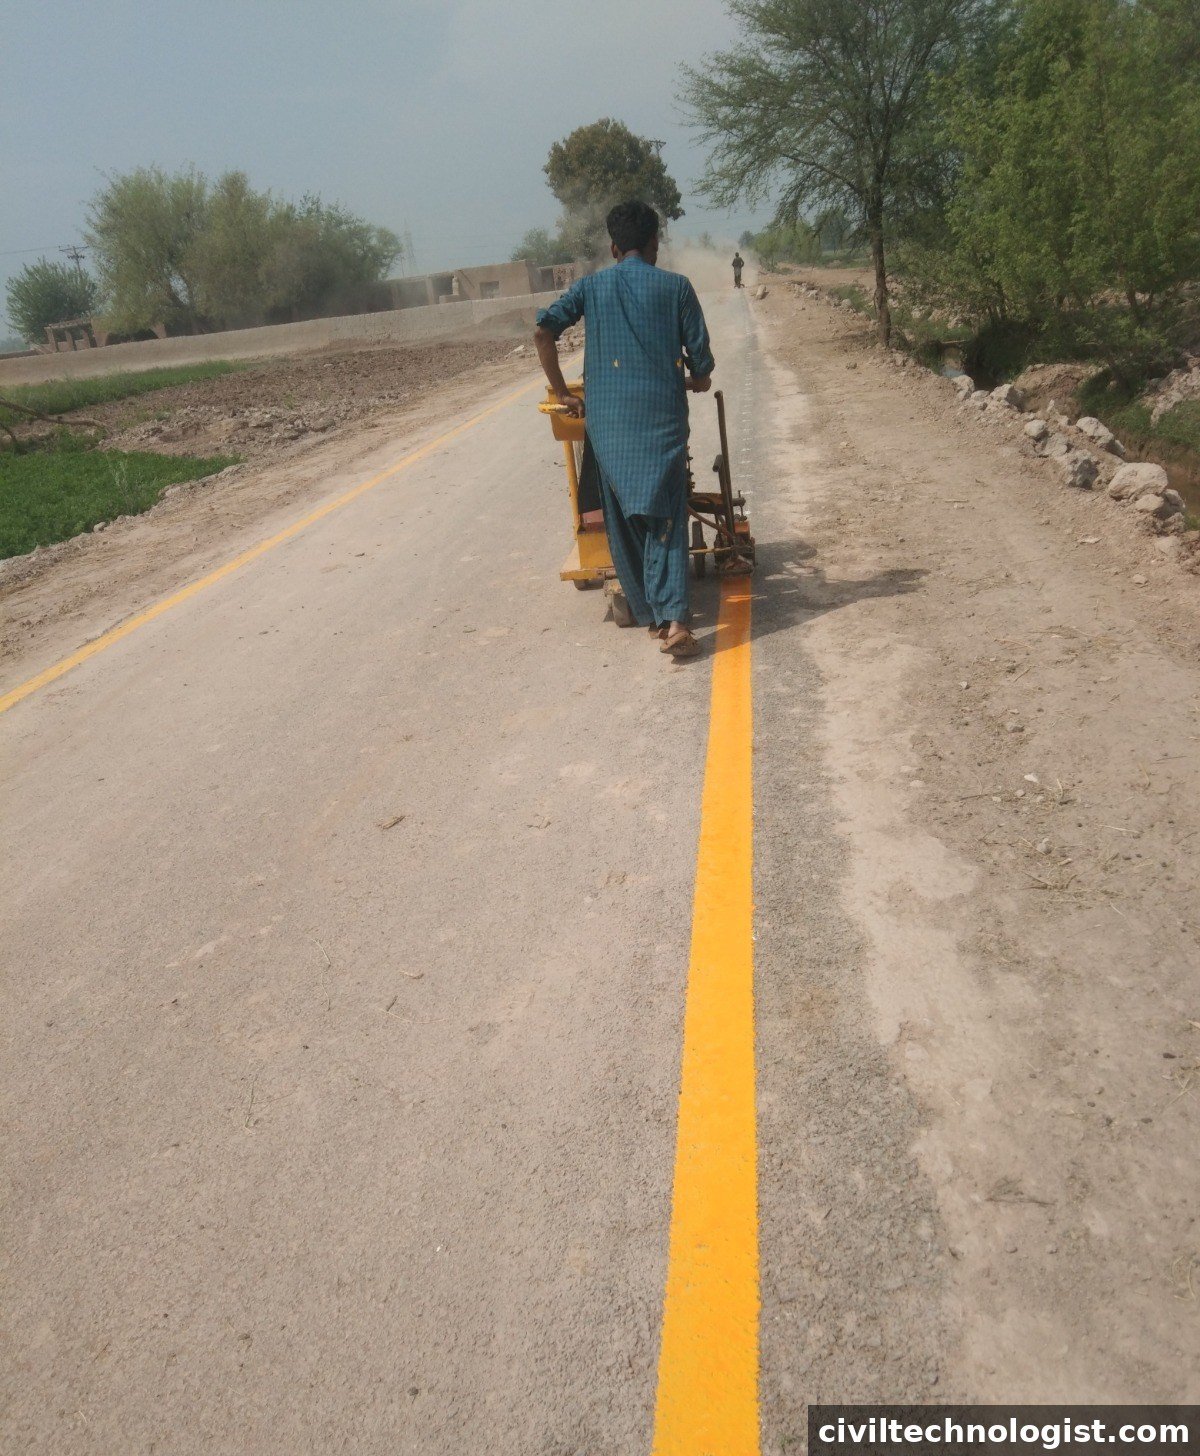
- Surface preparation — the pavement must be clean, dry, and free of dust, oil, and loose aggregate. On new asphalt, wait for the surface to cure and cool; marking over uncured bitumen causes bleeding and poor bond. Old, flaking markings are removed or overcoated per the specification.
- Setting out — the marking layout is set out with string lines or chalk: centre of carriageway, lane widths, and the exact position of transverse markings. On curves, the layout follows the design alignment — this is where the marking crew works from the same drawings as the superelevation design.
- Priming — on concrete pavements (and sometimes on aged asphalt), a primer/tack coat is applied so the thermoplastic bonds instead of peeling.
- Application — the marking machine (push-type for small works, self-propelled for highways) heats the thermoplastic and lays it at the specified width and thickness, with glass beads dispensed automatically. Speed and temperature are the two controls that matter: too fast gives thin lines; too cool gives poor bond.
- Protection and opening — fresh markings are coned off until hard. Thermoplastic sets in minutes; paint needs longer. Traffic on uncured markings smears them permanently.
Practical note: The most common site failure is marking over a dusty surface. A blower or broom pass immediately before the machine makes more difference to marking life than the choice of material.
What Decides How Long Markings Last
- Surface bond — dust, moisture, and uncured bitumen are the three bond-killers.
- Traffic wear — wheel paths erase markings; that is why edge lines outlast centre lines.
- Glass bead quality and dosage — reflectivity fades as beads are lost; premium beads and correct dosage keep night visibility for years.
- Thickness control — thin thermoplastic wears through in months. Check thickness with a wet-film gauge during application.
- Weather — standing water, grit, and snow-ploughing (in cold regions) all shorten marking life.
Applicable Standards
- IRC:35 — Code of Practice for Road Markings (India; widely referenced across South Asia for marking types, dimensions, and colours).
- MUTCD — Manual on Uniform Traffic Control Devices (USA; the international benchmark for marking warrants and layouts).
- EN 1436 — European standard for road marking performance (retroreflectivity, skid resistance, colour).
- Project specifications (e.g. NHA specifications in Pakistan) always govern — they fix the material, thickness, and glass-bead requirements for the job.
Frequently Asked Questions
What is the difference between road marking and road lining?
There is none in practice — “lining” is the site term for the painted lines (lane lines, centre lines, edge lines), while “road marking” is the formal term covering lines, symbols, and transverse markings together.
Which is better: thermoplastic or paint?
Thermoplastic for permanent markings on trafficked roads (lasts years, reflective, fast-setting); paint for low-traffic roads, temporary works, and tight budgets (cheaper, but repaints every year or so).
Why do road markings fade so fast in some places?
Almost always poor surface preparation (dust/moisture), thin application, or low-grade beads — not the material type itself. Markings laid on a clean, dry, primed surface at full thickness last their design life.
What are glass beads in road marking?
Tiny glass spheres embedded in the marking material that retroreflect vehicle headlights back toward the driver — they are what make lines visible at night. Without them, a marking is nearly invisible after dark.
When should markings be applied on new asphalt?
After the asphalt has cooled and cured enough that bitumen will not bleed into the marking — typically once the surface temperature is within the material manufacturer’s limits and the surface is clean and dry.
Final Thoughts
Road lining looks simple — lines on blacktop — but it is a precision job: correct layout, clean surface, right temperature, full thickness, and quality beads. Get those right and the markings guide drivers safely for years; get any one wrong and you will be repainting within months. For the geometry those lines follow on curves, see our guide to superelevation in roads.
Written by Mohsin Raza Adil — BSc Civil Engineering Technologist (NTC-registered), Pakistan.