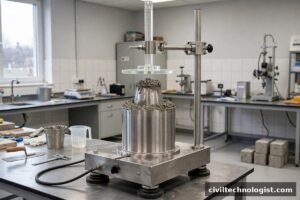
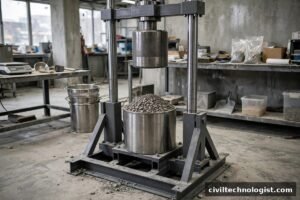
The J-ring is the site engineer’s passing-ability test. Where the L-box needs a heavy steel box and a lab bench, the J-ring needs only a steel ring, sixteen bars, and the same slump cone you already carry for the slump flow test. In one lift of concrete it tells you whether the mix will flow through reinforcement without the aggregate jamming — which makes it the most practical SCC check you can run at the point of discharge.
What the J-Ring Test Measures
Passing ability: the ability of self-compacting concrete to flow under its own weight through obstructions such as reinforcement, and fill the formwork completely, without blocking or segregation.
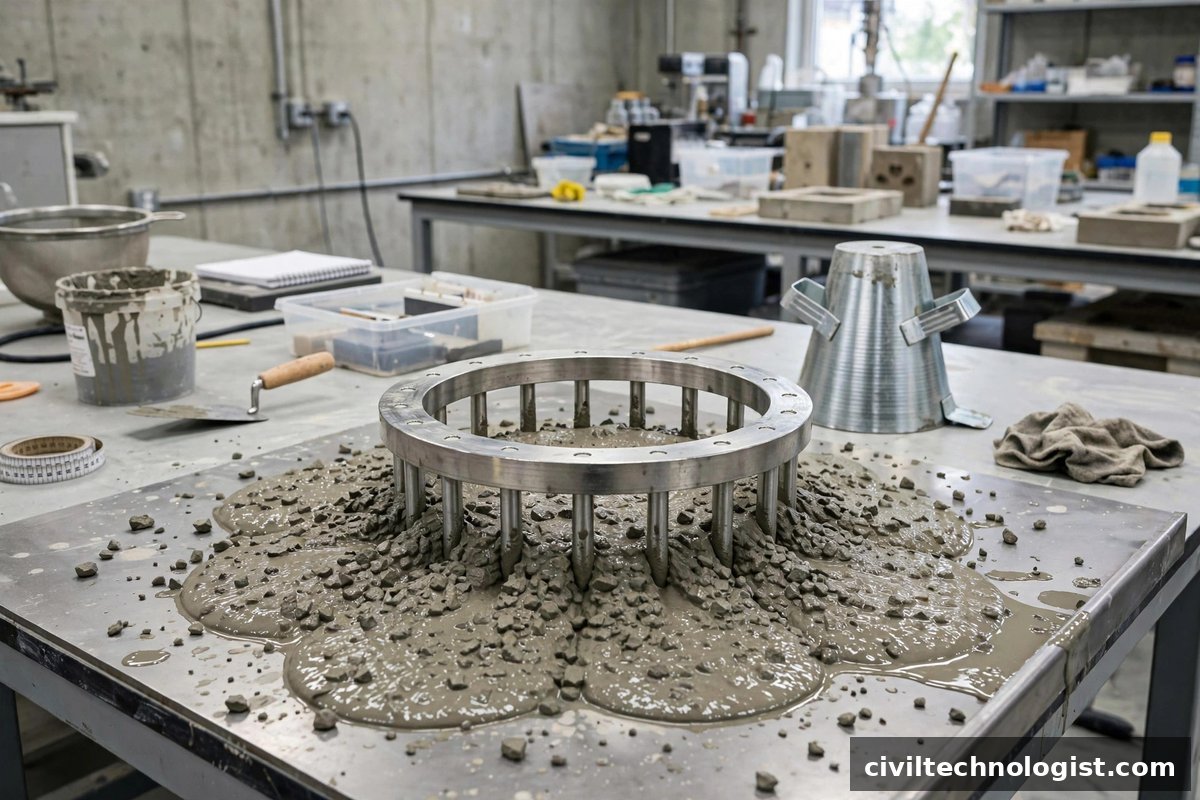
The test works by comparison. You run a normal slump flow test, then you run it again with the J-ring around the cone. If the bars barely slow the concrete down, passing ability is good. If the spread shrinks noticeably or aggregate piles up against the bars, the mix is blocking.
There are two standard ways to read the result:
- Difference in flow — slump flow minus J-ring flow. A small difference means the bars hardly obstructed the concrete.
- Blocking step (BJ) — the difference in concrete height just inside and just outside the ring, measured at several points. A small step means the concrete passed the bars almost level.
Governing Standards
The J-ring is covered by two standards, describing the same idea with different apparatus details:
- ASTM C1621/C1621M — Standard Test Method for Passing Ability of Self-Consolidating Concrete by J-Ring. The J-ring is used in combination with the slump cone, and the difference between the slump flow and the J-ring flow indicates passing ability.
- EN 12350-12:2010 — Testing fresh concrete, Part 12: Self-compacting concrete — J-ring test.
Apparatus
Per ASTM C1621, the J-ring is a rigid ring supported on sixteen 16 mm (⅝ in.) diameter rods, equally spaced on a 300 mm (12 in.) diameter circle, held 100 mm (4 in.) above a flat base plate. The EN 12350-12 version is a 300 mm diameter open steel ring (rectangular section, roughly 30 × 25 mm) with 16 bars of 18 mm diameter for the narrow-gap arrangement (a 12-bar wide-gap version also exists).
You will also need:
- A standard slump cone (Abrams cone)
- A rigid, non-absorbent base plate at least 900 × 900 mm, marked with 200 mm and 500 mm circles (for the EN version’s T500J timing)
- A tape or ruler reading to 5 mm, and a straightedge or depth gauge for the blocking step
- A stopwatch (if recording T500J)
Test Procedure
The J-ring test is run together with the slump flow test, on the same sample of concrete:
- Dampen the base plate and the inside of the slump cone; remove surplus water. Centre the J-ring on the plate and place the cone concentrically inside it (the cone may be used upright or inverted).
- Fill the cone in one lift with fresh SCC — no tamping, no rodding, no vibration. Strike off the top level.
- Lift the cone vertically, steadily, about 225 mm in roughly 3 seconds, with no sideways or twisting motion. Start the stopwatch as the cone leaves the plate if you are recording T500J.
- Let the concrete spread through the bars and come fully to rest.
- Measure the J-ring flow: the largest diameter of the spread and a second diameter roughly perpendicular to it; average the two to the nearest 10 mm (½ in.).
- For the blocking step (EN method): at four positions around the ring, measure the height difference of the concrete surface just inside and just outside the bars; average these to get BJ in millimetres.
- Repeat the slump flow without the ring on a fresh sample from the same batch.
Interpreting the Results
Flow difference method (ASTM C1621 approach)
Passing ability indicator = slump flow − J-ring flow
| Difference | Interpretation |
|---|---|
| ≤ 50 mm (2 in.) | Passing ability generally acceptable — the bars are not seriously obstructing flow |
| > 50 mm | Noticeable blocking — aggregate is jamming at the bars; adjust the mix |
Blocking step method (EN 12350-12 approach)
BJ = average height difference inside vs outside the ring (mm)
The smaller BJ, the better the passing ability. EFNARC’s earlier guidance treated values in the range 0–10 mm as typical for acceptable SCC. A large step — concrete mounded inside the ring with a thin spread outside — means the bars are acting as a sieve: paste passes, aggregate does not.
Worked Example
A site batch of SCC is tested at the discharge point:
- Slump flow (no ring): d₁ = 690 mm, d₂ = 680 mm → average 685 mm (class SF2)
- J-ring flow: d₁ = 655 mm, d₂ = 645 mm → average 650 mm
- Blocking step: height differences at four points = 12, 10, 14, 12 mm → BJ = 12 mm
Interpretation:
- Flow difference: 685 − 650 = 35 mm, which is within the 50 mm guideline → passing ability acceptable.
- Blocking step: 12 mm is only just above the typical 0–10 mm band, and no aggregate pile was observed at the bars → consistent with the flow-difference verdict.
The batch is accepted for the reinforced wall pour. If the difference had exceeded 50 mm, the corrective actions would be: reduce the coarse aggregate content, reduce the maximum aggregate size, or increase the paste volume — then retest.
J-Ring vs L-Box: Which One to Use?
| Feature | J-ring | L-box |
|---|---|---|
| Equipment | Ring + slump cone — light, portable | Heavy L-shaped box — lab equipment |
| Result | Flow difference (mm) and/or blocking step BJ | Single blocking ratio H₂/H₁ |
| Flow pattern | Radial spread through bars | Horizontal channel flow through bars |
| Best for | Site quality control at the discharge point | Mix development in the laboratory |
Frequently Asked Questions
What does the J-ring test measure?
Passing ability — whether self-compacting concrete can flow through reinforcement-sized obstructions without blocking or segregating. It is always run as a companion to the slump flow test.
How many bars does a J-ring have?
Sixteen, equally spaced on a 300 mm diameter circle (ASTM C1621: 16 mm diameter rods, 100 mm above the plate). EN 12350-12 also defines a 12-bar wide-gap version.
What is an acceptable J-ring result?
A difference of up to about 50 mm between the slump flow and the J-ring flow is generally accepted. For the blocking-step method, smaller is better, with roughly 0–10 mm typical for good SCC.
Can the J-ring test be done on site?
Yes — that is its main advantage over the L-box. The ring and a slump cone fit in a site lab or even the back of a pickup, and the test takes only a few minutes per batch.
What causes a J-ring test to fail?
Usually too much or too large coarse aggregate for the bar spacing, a harsh gap-graded aggregate, or a paste too thin to carry the aggregate through the gaps. Bent bars or a tilted base plate can also cause false failures — check the apparatus first.
Final Thoughts
The J-ring turns the abstract idea of “passing ability” into a number you can check at the truck before the concrete goes into the formwork. Run it with every slump flow on reinforced SCC pours, keep the bars straight and the plate level, and treat any flow difference over 50 mm as a stop-and-investigate signal.
Written by Mohsin Raza Adil — BSc Civil Engineering Technologist (NTC-registered), Pakistan.

Mohsin Raza Adil
BSc Civil Engineering Technologist (NTC-registered), Pakistan. I write practical, field-tested guides on construction materials, soil testing and site engineering — the way it is actually done on site.