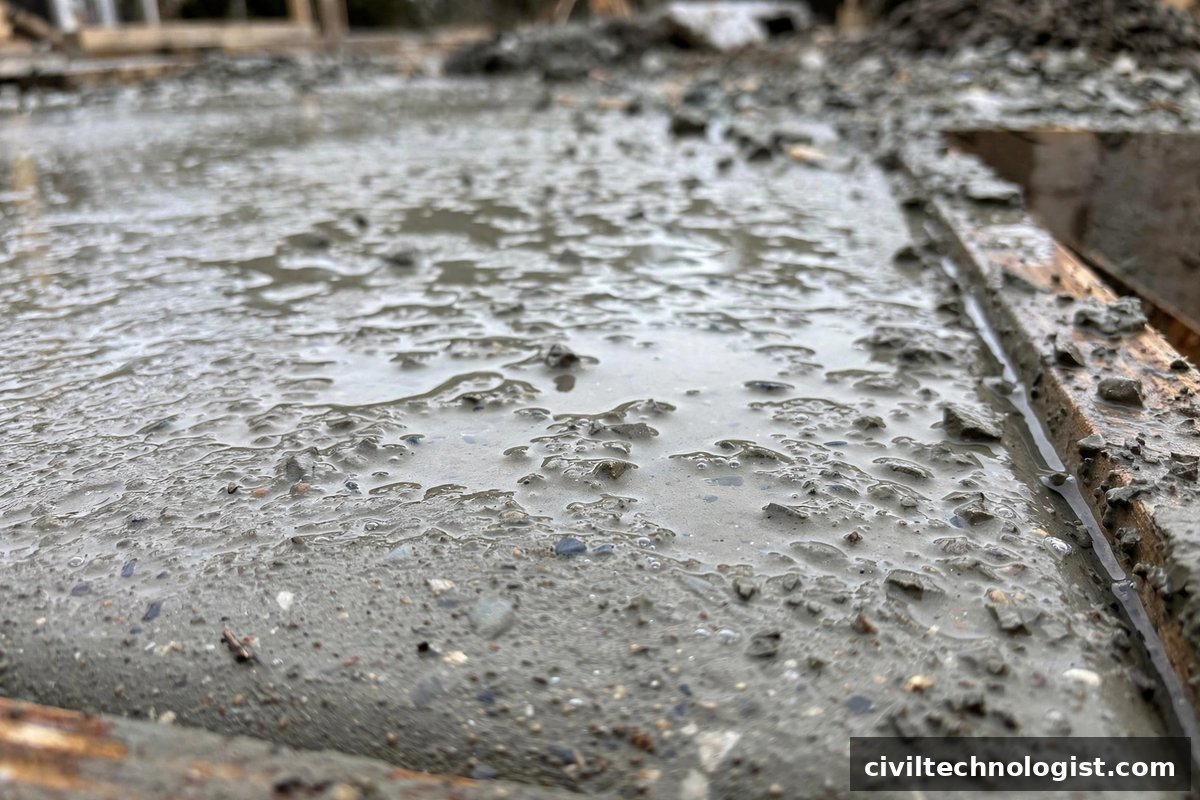
Pour a slab on a hot afternoon, come back an hour later, and the surface is covered with a thin sheet of water. That is bleeding — the upward movement of mixing water in freshly placed concrete. A little bleeding is normal. Too much of it leaves behind laitance, a weak dusty surface, plastic shrinkage cracks, and concrete that wears out years early.
The bleeding test measures how much water bleeds out of a concrete sample under controlled conditions, so you can compare mixes, evaluate admixtures, and catch a bad mix design before it is poured into your structure. This guide explains the standard method, walks through the calculation with real numbers, and gives practical ways to keep bleeding under control.
What Is Bleeding in Concrete?
Bleeding happens because concrete is a suspension: solid particles (cement, sand, aggregate) are heavier than water, so they slowly settle and squeeze the free mixing water upward. The water collects on the surface until setting begins.
Bleeding is closely related to segregation — they are not the same thing. Segregation is the separation of coarse aggregate from the paste; bleeding is specifically the rise of water. A mix can bleed without visibly segregating, and that is exactly why the test exists.
Why Bleeding Matters
Bleeding water does three kinds of damage:
- Weak surface layer. The water dilutes the cement paste near the surface, raising the local water–cement ratio. After it evaporates, it leaves a soft, powdery layer called laitance that dusts under traffic and peels off with the finish.
- Plastic shrinkage cracks. If the surface dries while bleed water is still rising — on a hot, windy day — the top shrinks faster than the concrete below, and map-like cracks open within hours.
- Poor bond and durability. Bleed water gets trapped under reinforcement bars and coarse aggregate particles, leaving voids that weaken the concrete–steel bond and give water and salts an easy path into hardened concrete.
Practical note: On site, watch the finishers. If they start trowelling while bleed water is still standing on the surface, they are mixing that water back into the top paste — the exact recipe for laitance and a dusty floor. The right move is to wait until the sheen of water has left and the surface can support a footprint of about 6 mm depth.
The Standard: ASTM C232
The reference method is ASTM C232 / C232M — Standard Test Method for Bleeding of Concrete. It covers two procedures:
| Method | What it does |
|---|---|
| Method A | Concrete that is not subjected to vibration after placement — consolidated by rodding only and left undisturbed |
| Method B | Concrete that is subjected to intermittent vibration after placement |
Both methods measure the quantity of bleed water that rises to the surface over time. (In India the equivalent test is covered by IS 9103-1999, Annex D, which follows the same principle — pipetting off bleed water at set intervals.)
One important point: ASTM C232 does not set a pass/fail limit. It is a comparative test — you use it to compare mixes, judge the effect of an admixture, or confirm that a proposed mix bleeds less than a known reference.
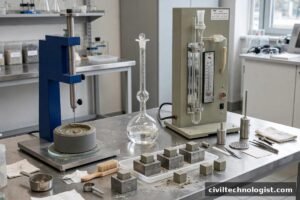
Apparatus
- Cylindrical metal container with a flat bottom (large enough to hold a representative sample)
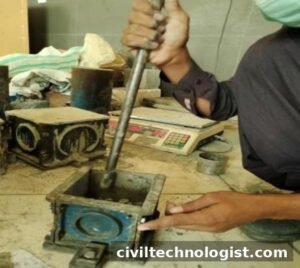
- Tamping rod — round steel rod, 16 mm diameter, about 610 mm long, with a rounded end
- Pipette or similar instrument for drawing water off the surface
- 100 mL graduated cylinder for measuring the collected water
- Stopwatch, level surface, and a lid to cover the container
Test Procedure
- Fill the container with freshly mixed concrete in a single lift (or in layers per the lab’s practice), consolidate it by rodding, strike the top level, and record the mass of the concrete sample.
- Place the container on a level surface free from vibration and cover it with a lid to stop evaporation.
- Draw off the bleed water. Starting about 10 minutes after consolidation, collect the water standing on the surface with the pipette at 10-minute intervals during the first 40 minutes, then at 30-minute intervals until bleeding stops.
- To make collection easier, the container may be tilted slightly — for example by placing a 50 mm block under one side — while water is drawn off.
- Transfer each collection to the graduated cylinder and record the accumulated quantity of water after every transfer.
- Note the time at which bleeding ceases and the total volume of water collected.
Practical note: Evaporation is the silent killer of this test. If the lab is hot or draughty and the lid is off, water leaves by evaporation instead of bleeding, and your result comes out falsely low. Keep the lid on between collections and record the room temperature.
Calculation
Two quantities are reported.
1. Volume of bleeding water per unit area of surface
For each interval:
V = V₁ / A
- V = bleeding water for the interval (mL/cm²)
- V₁ = volume of water collected during the interval (mL)
- A = exposed surface area of the concrete (cm²)
2. Accumulated bleeding as a percentage of the net mixing water
This is the number most people actually use:
Bleeding (%) = (mass of total bleed water / mass of net mixing water in the specimen) × 100
The net mixing water in the specimen is found by proportion:
Net water in specimen = (water in batch / total mass of batch) × mass of specimen
Worked Example
A laboratory trial mix has the following batch quantities:
| Material | Mass (kg) |
|---|---|
| Cement | 50 |
| Water | 25 |
| Fine + coarse aggregate | 170 |
| Total batch | 245 |
The test specimen of concrete weighs 32 kg.
Step 1 — Net mixing water in the specimen:
25 / 245 × 32 = 3.265 kg (3,265 g, which equals 3,265 mL of water)
Step 2 — Collections over about 3 hours give a total bleed water volume of 195 mL (195 g).
Step 3 — Accumulated bleeding:
195 / 3,265 × 100 = 5.97% ≈ 6.0%
So roughly 6% of the mix’s free water rose to the surface. As a rule of thumb, normal concretes typically show bleeding of about 1–5% of the net mixing water; values approaching or above 5–6% indicate an overly wet or poorly proportioned mix that deserves a second look before it goes into the work.
How to Reduce Bleeding
When a test shows excessive bleeding, the fix is in the mix — not in extra finishing effort:
- Reduce the water–cement ratio. This is the single biggest lever. Cut free water or add cement at the same water content.
- Increase fines. More cement, finer sand, or a pozzolanic addition (fly ash, silica fume) gives the paste more surface area to hold water.
- Use finer cement or one with higher C₃A content — both reduce bleeding tendency.
- Add an air-entraining admixture. Even 3–5% entrained air breaks up the bleed channels and noticeably cuts bleeding. Read more in our guide on concrete admixtures and types.
- Avoid over-vibration. Excessive vibration drives extra water upward; vibrate only until the surface closes.
- Protect the surface. On hot or windy days, use fog sprays, windbreaks, or evaporation retarders so surface drying does not outrun bleeding — the main cause of plastic shrinkage cracking.
- Check aggregate grading. Gap-graded or very coarse mixes with little fine material bleed more; a well-graded aggregate skeleton holds water better.
Bleeding is also one of the key properties of fresh and hardened concrete that every site engineer should understand before judging a mix.
Frequently Asked Questions
What is the difference between bleeding and segregation in concrete?
Bleeding is the rise of mixing water to the surface; segregation is the separation of coarse aggregate from the mortar. Bleeding can happen without visible segregation, which is why a dedicated test is needed.
What is the standard test for bleeding of concrete?
ASTM C232 / C232M — Standard Test Method for Bleeding of Concrete. Method A covers concrete placed without further vibration; Method B covers concrete subjected to intermittent vibration. In India, IS 9103-1999 Annex D covers the same test.
What is an acceptable bleeding value for concrete?
ASTM C232 itself sets no fixed limit — it is a comparative test. As a practical guide, accumulated bleeding of roughly 1–5% of the net mixing water is typical for ordinary mixes; values near or above 5–6% suggest the mix is too wet or poorly proportioned.
How do you reduce bleeding in concrete?
Lower the water–cement ratio, increase fines (cement or pozzolana), use finer cement, add an air-entraining admixture, avoid over-vibration, and protect fresh surfaces from rapid evaporation on hot, windy days.
Why is finishing concrete while bleed water is present bad?
Trowelling bleed water back into the surface raises the local water–cement ratio and forms laitance — a weak, dusty layer that scales, dusts, and wears out quickly.
Final Thoughts
The bleeding test takes a few hours of lab time, but it answers a question every pour raises: will this mix leave a sound surface or a weak one? Run it when you change mix proportions, switch cement or admixture brands, or move into hot weather concreting. A mix that bleeds 6% in the lab will bleed 6% on your slab — better to find out in a container than in a 500 m² floor.
Written by Mohsin Raza Adil — BSc Civil Engineering Technologist (NTC-registered), Pakistan.

Mohsin Raza Adil
BSc Civil Engineering Technologist (NTC-registered), Pakistan. I write practical, field-tested guides on construction materials, soil testing and site engineering — the way it is actually done on site.